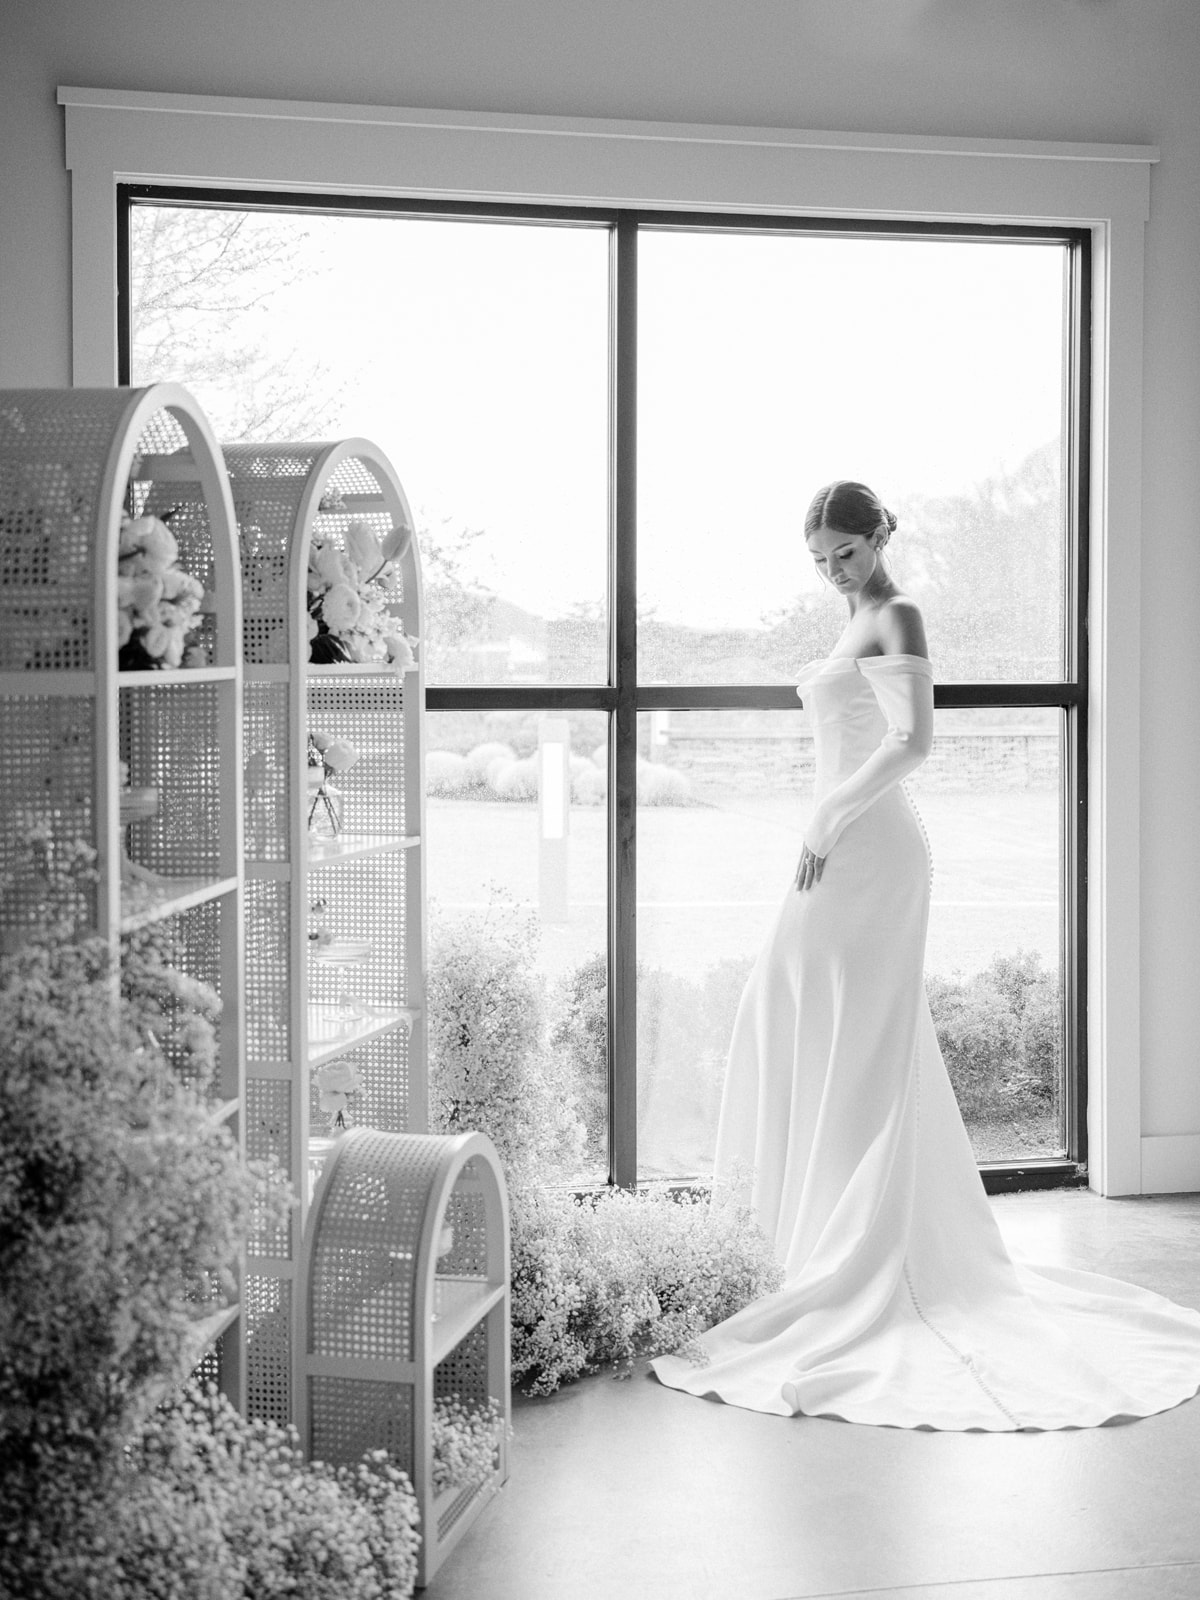
Creating a wedding day timeline can seem like a daunting task, but it is essential for ensuring that your big day runs smoothly. A timeline helps to ensure that all of the key events and moments happen on time, and that your vendors and wedding party are all on the same page. Here are some steps to follow to building an efficient wedding day timeline that will help you have the perfect wedding day.
01. Determine Your Key Events
Begin by listing out all of the key events that will take place on your wedding day. This might include the ceremony, cocktail hour, reception, first dance, toasts, and cake cutting. Be sure to also consider any other special moments you want to include, such as a first look or a sparkler exit.
02. Set a Start and End Time
Once you have a list of key events, you can start to determine the start and end time for each one. Keep in mind that your ceremony time may be determined by your venue, but everything else can be adjusted to fit your timeline.
03. Allocate Time for Each Event
Once you have set a start and end time for each event, you can allocate the appropriate amount of time for each one. For example, you might allocate 30 minutes for the ceremony, 1 hour for cocktail hour, and 4 hours for the reception.
04. Work With Your Vendors
Your vendors can be an excellent resource for helping you build your wedding day timeline. Work with your photographer, caterer, and DJ or band to ensure that they know when to arrive, when to set up, and when they will need to be ready to begin their services.
05. Build in Buffer Time
It’s important to build in buffer time throughout the day to account for any unexpected delays. This might include travel time between locations, time for hair and makeup touch-ups, or time to fix any last-minute issues that may arise.
06. Communicate Your Timeline
Once you have your wedding day timeline in place, make sure to communicate it to your wedding party, family, and vendors. This will help to ensure that everyone is on the same page and that your day runs smoothly.
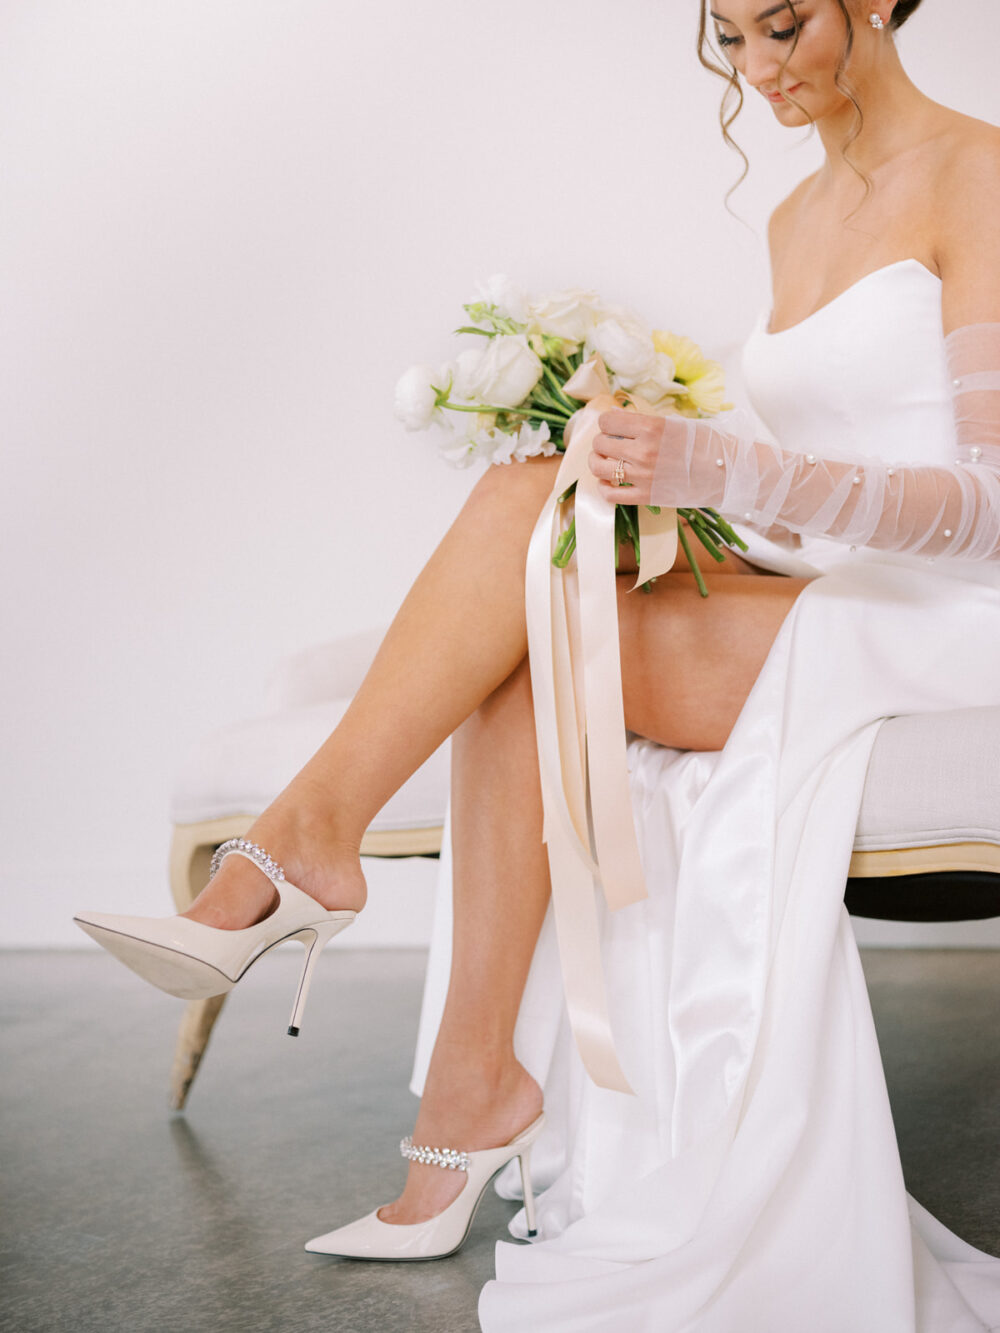
Below is a typical breakdown of amount of time needed for each part of your day. Feel free to use this as a guide when needed. Make sure to add 5-10 minute buffers between events and don’t forget to include travel time if applicable.
- Bridal Details – 45 mins
- Bride Getting Ready – 60 mins
- Groom Getting Ready – 15 mins
- First Look – 10 mins
- Bride & Groom Portraits – 30 mins
- Bridal Party Portraits – 30 mins (more time is needed for large bridal parties)
- Bride in Hiding
- Photographer Captures Ceremony Decor – 10 mins
- Ceremony
- Family Portraits – 30 mins
- “Just Married” Portraits – 15 mins
- Photographer Captures Reception Decor – 20 mins
- Cocktail Hour
- Reception
- Sunset/Nighttime Photos/The Exit – 10 mins
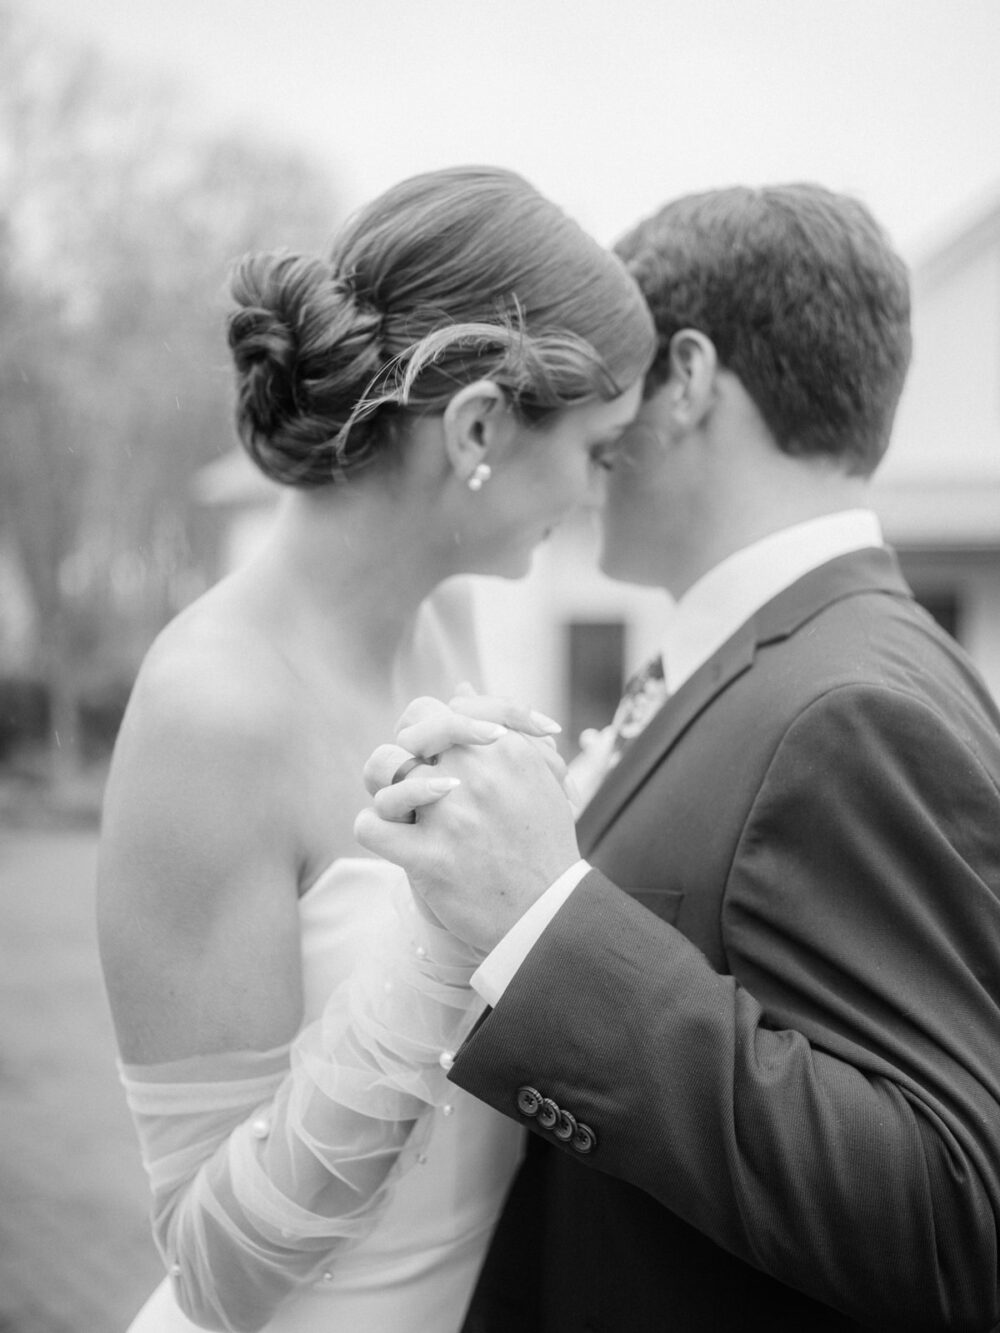
Creating an efficient wedding day timeline takes some time and effort, but it is well worth it in the end! A well-planned timeline can help you avoid stress and ensure that your wedding day is everything you dreamed it would be. By following these steps, you can create a wedding day timeline that will help make your big day unforgettable!
CATEGORY |
5/04/2023
POSTED |
